
Click on the Check action and select Print Check….

On the check page, fill in the fields as necessary. You must at least select a Bank Account to print your checks. Hover over a field to read a short description.

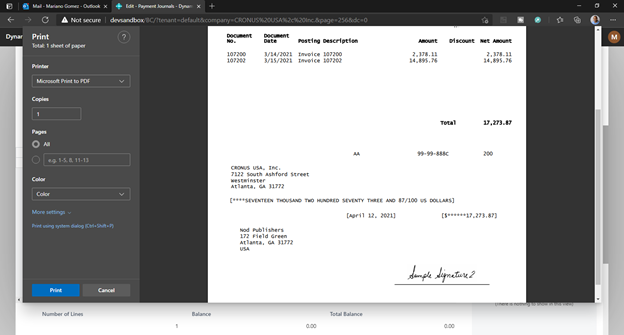
If your printer is set up to print checks, choose the Print button. Otherwise, choose the Send to… button, select the PDF Document option, choose the OK button, and then print the PDF document.
The physical checks can now be sent to the vendors for processing. Proceed to post the payment as applied to the vendor and thereby paid in the system.
Choose the Post action.

For other Dynamics 365 Business Central check processing procedures, please see Issue, Print, Cancel, and Void Checks – Dynamics 365 Business Central | Microsoft Docs
Need more help with this?
We value your input. Let us know which features you want to see in our products.