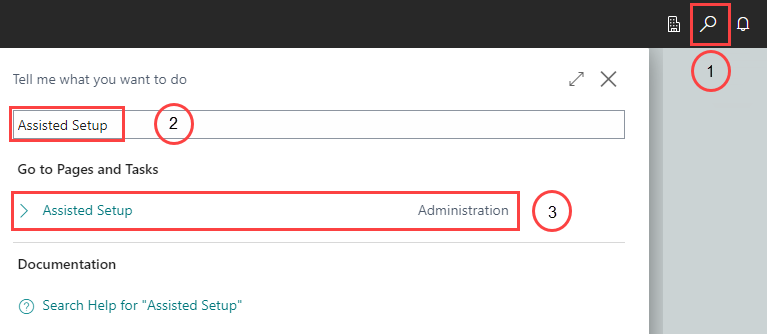
The assisted setup wizard helps you upload the essential items to start using Electronic Signatures. At each step in the wizard, click the action button to open the respective page. After completing each task, click the back arrow in the left corner to return to the wizard and continue setting up Electronic Signatures.
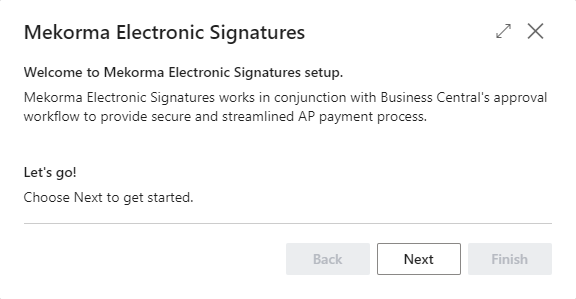
For first-time installations, the setup wizard starts automatically once the installation is complete. If this is your first time, jump to step 3. If you need to search for and run the setup wizard manually, begin with step 1.
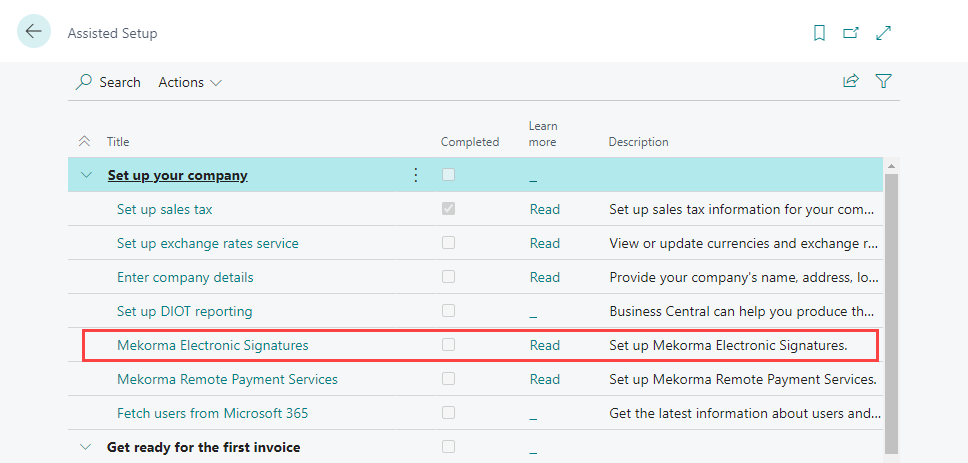
- In the Assisted Setup page, find Mekorma Electronic Signatures under the Set up your company category. Select it to start the setup.
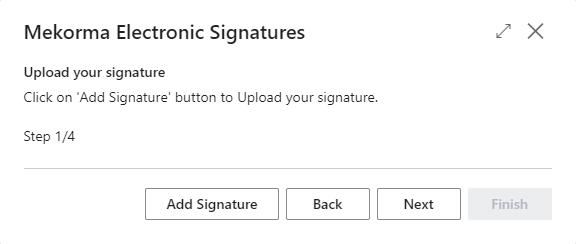
- Click Add Signature to select the signature(s) you want to upload. Click Next to continue. For more information, see Importing Signatures.
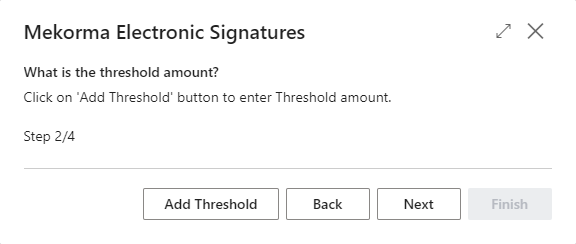
- Click Add Threshold to configure the thresholds you want to use. Thresholds are the ranges of payment that each signature applies to. Click Next to continue. For more information, see Setting Up Signature Thresholds.
- Click Bank Account to apply your thresholds to a bank account. Click Next to continue. For more information, see Apply a Threshold to a Bank Account.
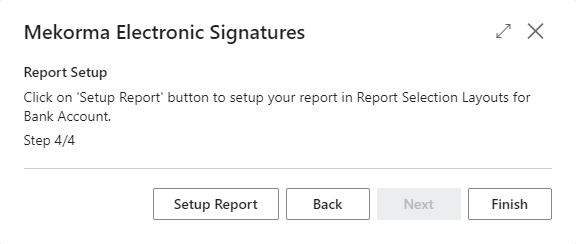
- Click Report Setup to choose the check layouts you want to use with Electronic Signatures. Click Next to continue. For more information, see Selecting Mekorma Check Formats.
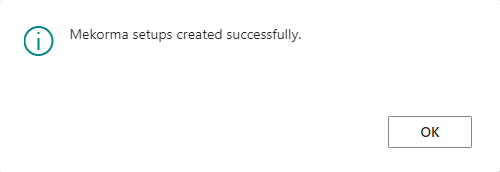
- Click OK and you are ready to begin using Electronic Signatures.
Last modified:
September 25, 2024
Need more help with this?
We value your input. Let us know which features you want to see in our products.


