
There may be circumstances in which you need to print checks/payments locally that are normally sent to the outsource provider (Nvoicepay or AvidXchange) for processing. You can do this by changing a vendor, payment, checkbook, or company’s status to “Local.”
Change an individual vendor’s status to Local Processing
This setting allows you to exclude a vendor from the outsourcing service; all payments to that vendor will be processed locally.
- Open the Vendor Maintenance window and select a Vendor ID using the look-up.
- Click on Additional > Enhanced ePayment Status to open the Enhanced ePayment Status window. In this example, Allenson is currently enrolled as a vendor who receives payment from the outsource provider.

- Use the drop-down menu in the Enhanced ePayment Status window to change the status to Local Processing.

- Click Apply; then Save in the Vendor Maintenance window.
Change an individual payment’s settings to Local Processing
This is a one-time action that allows you to exclude a particular payment in a batch from being sent to the outsource provider.
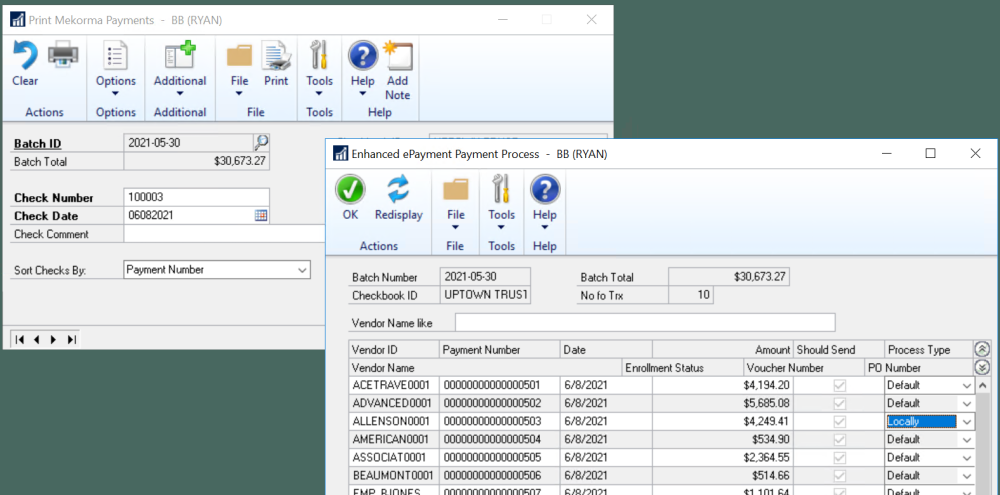
- Once you’ve opened the Print Payments window, select a batch that contains a payment you want to switch to Local Processing.
- Click Additional > Payment Processing Options to open the Payment Processing Options window.
- Select the payment you want to print locally.
- In the Process Type column, use the drop-down to choose Locally and click OK to apply the change.
Disable a checkbook that has been configured for outsourcing
This action effectively removes a checkbook from the payment provider’s portal; any payments from the checkbook will be processed locally.
- Open the Enhanced ePayment Configuration window.
- Navigate to the checkbook you want to disable, and delete the Checkbook ID and associated data.
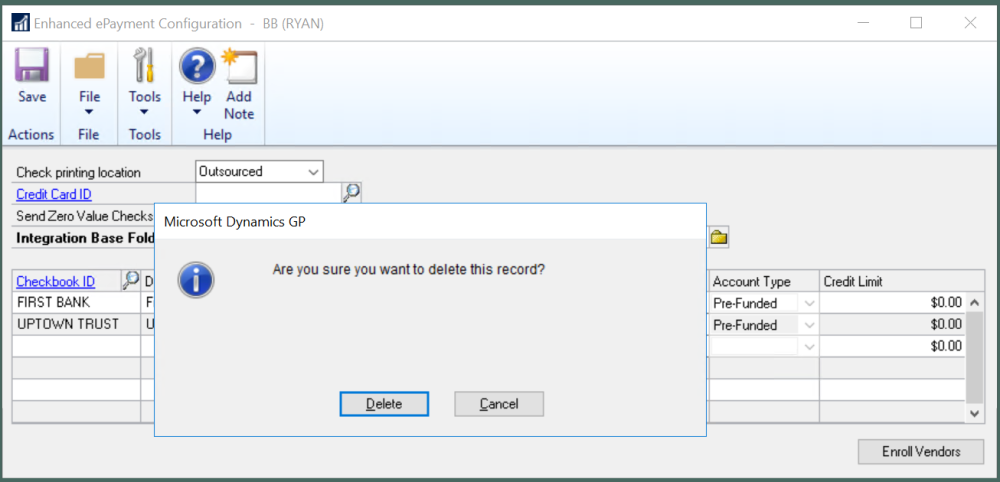
- Save the changes.
- To add the checkbook back to the ePayment configuration, follow these steps.
Change an entire company’s printing location
This action disables the ePayment Connector for a particular company. No payment files from this company will be sent to the outsource provider.
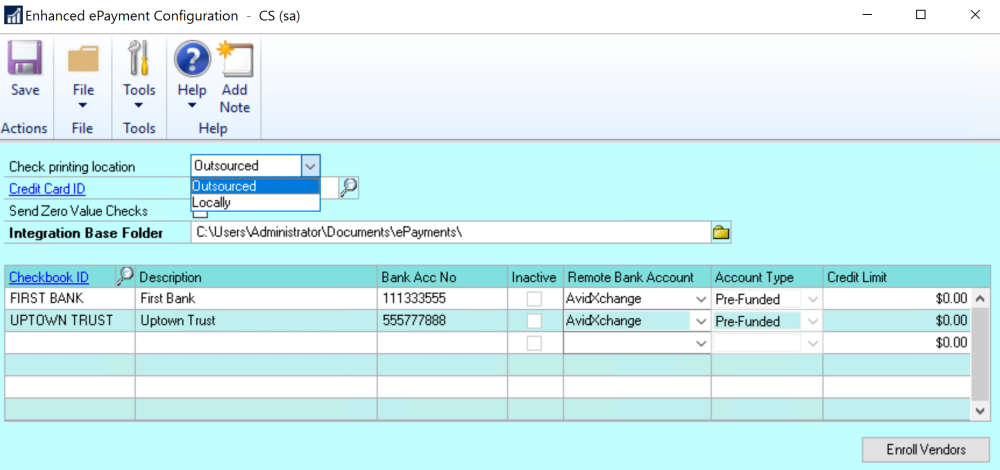
- Open the Enhanced ePayment Configuration window.
- In the Check printing location field, use the drop-down to choose Locally and Save.
Need more help with this?
We value your input. Let us know which features you want to see in our products.