
- Open the Print Payments window. If secure approval workflow is configured, the payments must have gone through the designated approval process before printing is possible.
- Use the look-up to select a fully approved ePayment batch (ie., a batch that is tied to a checkbook configured for ePayments, that also contains transactions for vendors enrolled in the service. The batch can contain transactions for vendors enrolled in payment outsourcing amd those that are not enrolled. EFT batches, Credit Card batches and batches tied to a checkbook that has not been configured with the outsource provider will not be sent for electronic processing.)
- Click Print.
- A window will open indicating that the batch was sent for electronic processing. This means that a file containing all the payment information has been generated and was sent to the outsource provider platform. Click OK to close.
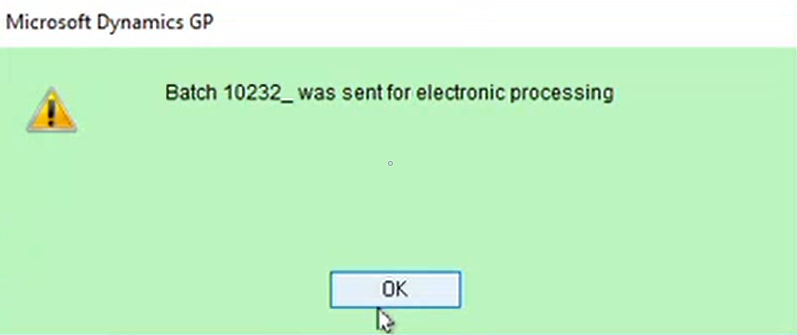
If the original batch contained a blend of payments for vendors enrolled with the outsource provider, along with payments intended for local processing, the ePayment batch will be split so that an underscore is added to the original batch name. Local payments will remain in the original batch. For example, in the screenshot above, the original batch name was 10232. The payments sent to the outsource provider are now contained in a batch named 10232_.
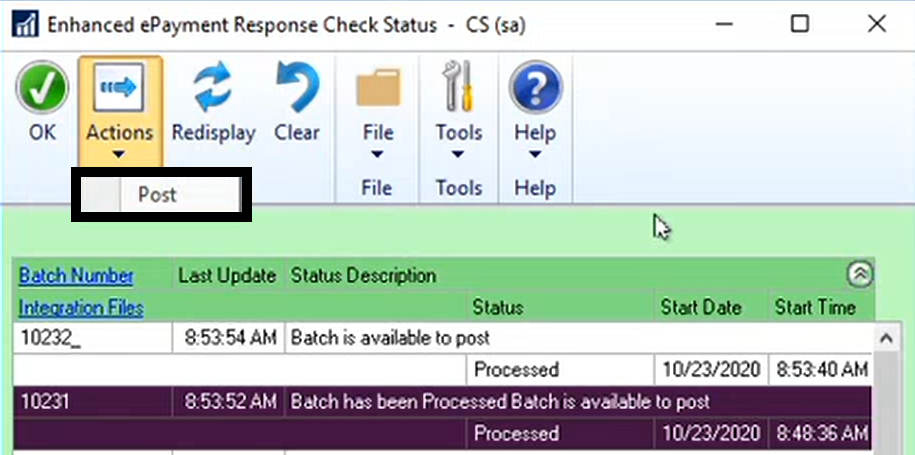
- The Enhanced ePayment Response Check Status window will also open to display the batch status. Initially the status will read Batch Check in Progress. GP is fully accessible while the system is processing.
- When the provider has completed processing, the following response will be sent back to the Enhanced ePayment Response Check Status window:

- If the ePayment batch contains individually funded payments, it is released for posting. The batch status description updates to Batch is available to post, and the status displays as Processed.
- If the ePayment batch contains bulk funded payments (only available if processing with Nvoicepay), the batches will be split and processed in this way:
- If you are running GP2015, payments are moved to a Manual Payments batch. The Batch ID will be the original Batch ID with a ‘_V’ suffix.
- If you’re running GP2016+, payments are moved to a new Credit Card batch – the associated credit card can be viewed in the Enhanced ePayment configuration window.
- This Batch ID will be the original batch name with a ‘_V’ suffix.
- In addition, a new payment is added to the original batch to pay the outsource provider.
- Batch_V is then released for further processing, and the batch status description updates to Batch is available to post, and the status displays as Processed.
- Batches can then be posted by clicking on the Actions menu > Post in the Enhanced ePayment Response Check Status window.
- If the original batch included payments for vendors not enrolled or set to Local Processing, those payments will remain in the original batch and continue on to print from your local printer. The Post Payments window will automatically open and you can post those payments immediately, or at a later time.

Last modified:
November 20, 2020
Need more help with this?
We value your input. Let us know which features you want to see in our products.