
- Return to the approval window to approve transactions by marking the check boxes next to each payment and clicking on Approve. If a transaction requires a second approval, the Status will display as Pending 2nd Approval and will only be available for printing/processing once the second Approver performs this same action.
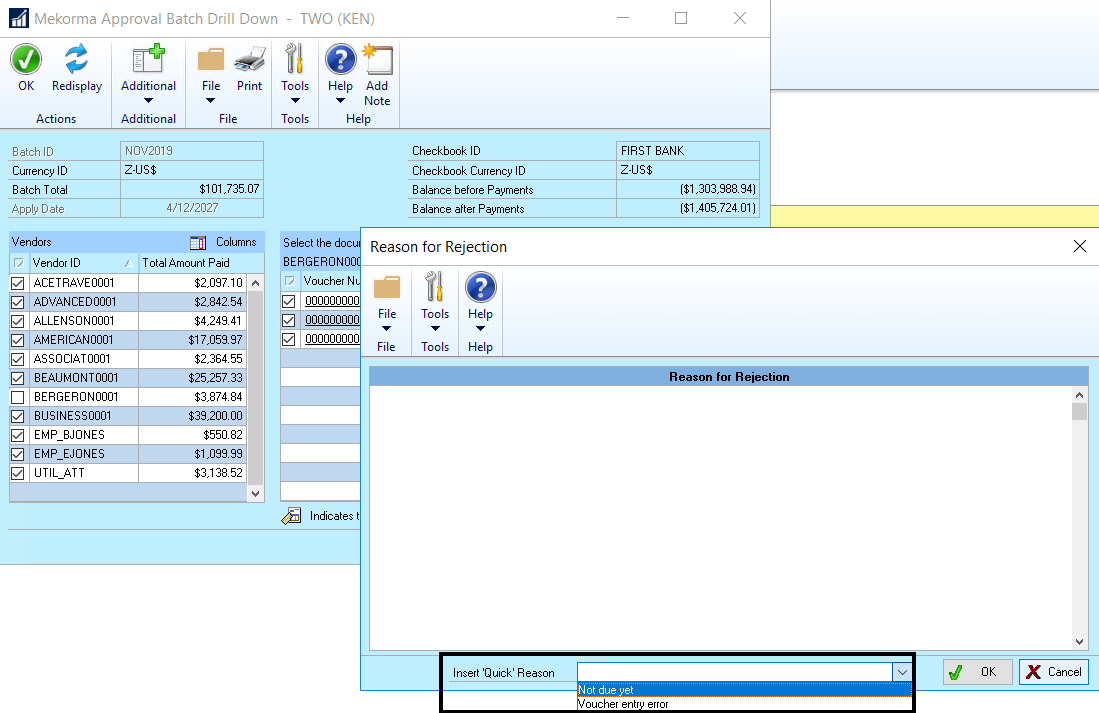
- If instead you want to reject a payment, select the vendor payment that contains the incorrect payment, and choose Reject. A window will open to allow the entry of a reason for the rejection.
- Type in a reason for the rejection if desired, or choose a pre-determined rejection reason by clicking on the drop-down by the Insert a ‘Quick’ Reason field. Follow this link to learn how to set up your Quick Reasons.
![]()
- The user who requested approval will be notified by email or text of the approvals and rejections that occurred once completed, as long as email/text notifications are configured properly. All payment batches that have been approved can then be printed/ processed and once the payments have been posted, they’ll automatically be available in the Mekorma Audit Log Report.
Last modified:
April 28, 2022
Need more help with this?
We value your input. Let us know which features you want to see in our products.