
There may be circumstances in which you need to print checks/payments locally that are normally sent to the outsource provider for processing. You can do this by changing a vendor, payment, checkbook, or company’s status.
Change an individual vendor’s status to Excluded
This setting allows you to exclude a vendor from the outsourcing service; all payments to that vendor will be processed locally.
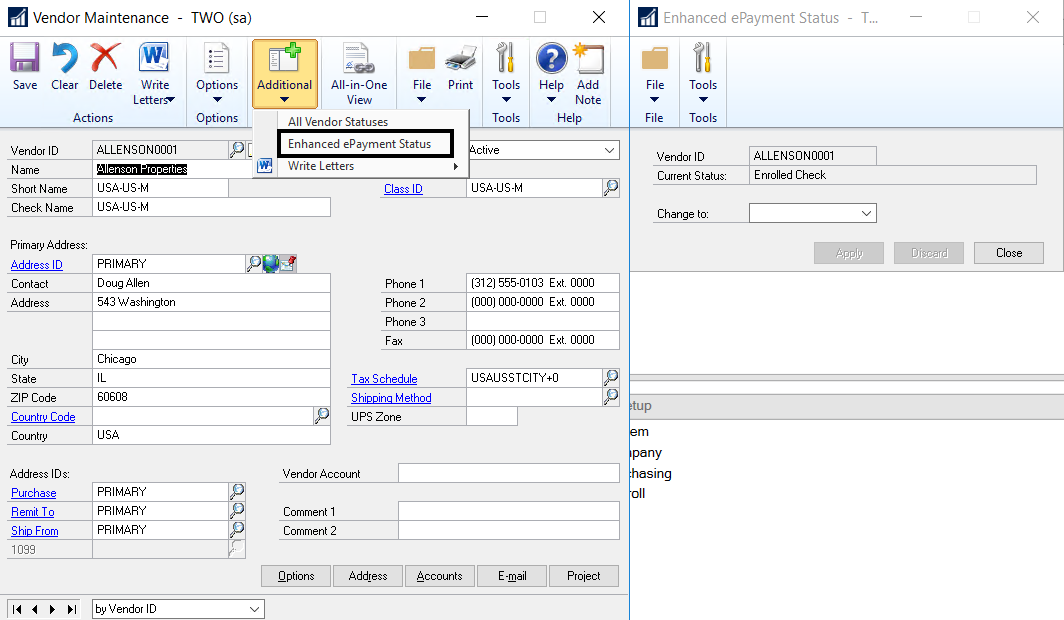
- Open the Vendor Maintenance window and select a Vendor ID using the look-up (Mekorma Area Page > Cards > Payables > Vendor).
- Click on Additional > RPS Status to open the Remote Payment Services Status window. In this example, Allenson is currently enrolled as a vendor who receives payment from the outsource provider.
![]()
- Use the drop-down menu in the Remote Payment Services Status window to change the status to Excluded.
![]()
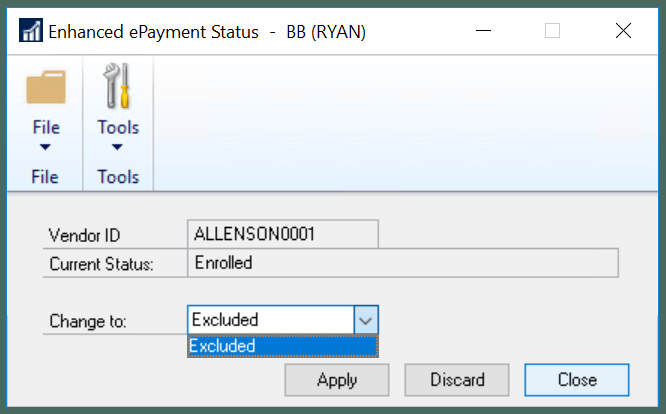
- Click Apply; then Save in the Vendor Maintenance window.
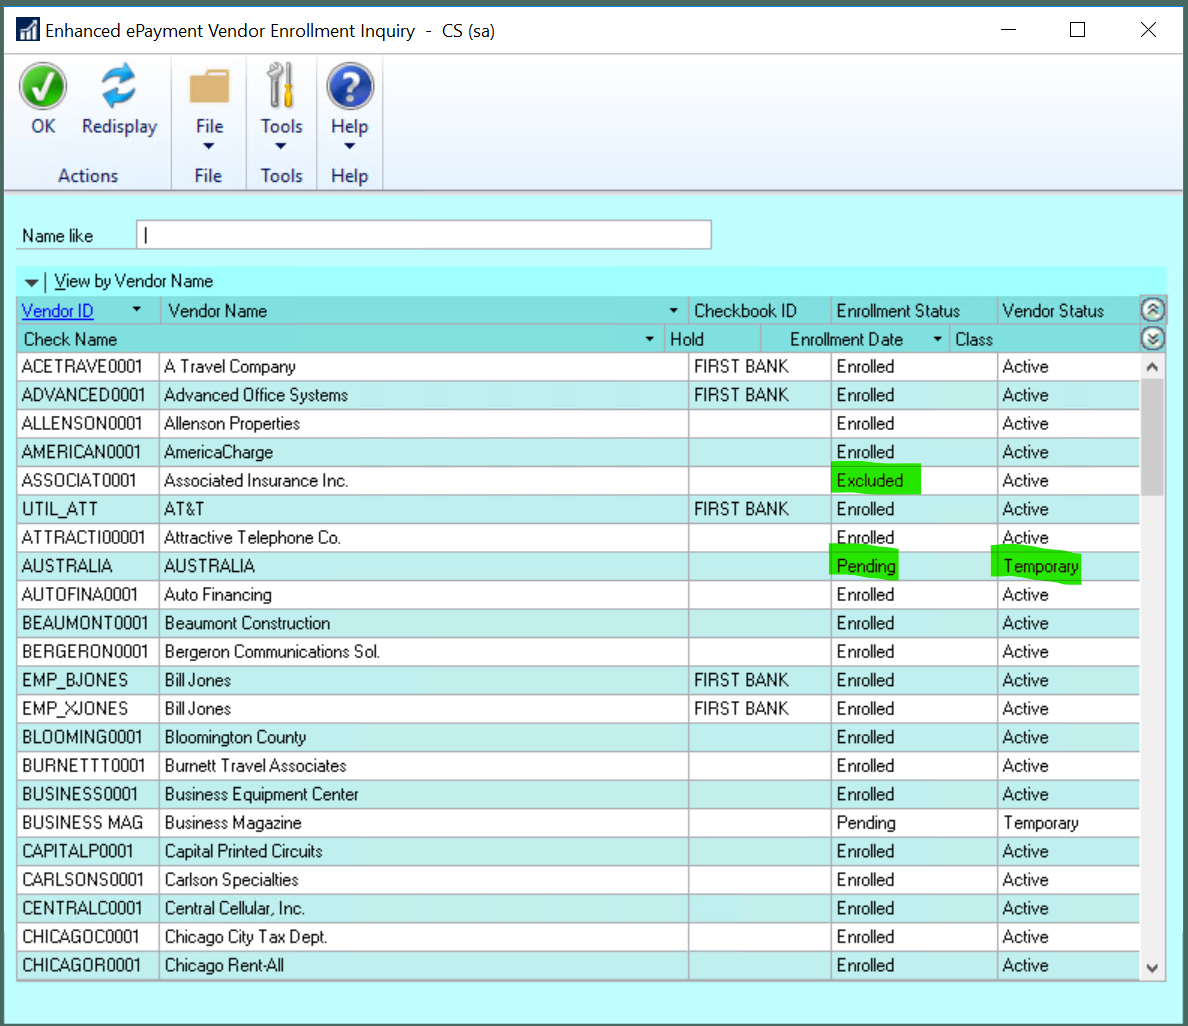
There are three possible Enrollment Statuses for your GP vendors:
- Excluded: This vendor’s information is not sent to the outsource provider, and payments to this vendor are processed locally.
- Enrolled: Payments to this vendor are sent to the outsource service for processing, unless another type of local processing exception has been set up (see Exceptions for Remote Payments).
- Pending: This vendor was not automatically enrolled for outsource processing and will be processed locally. This happens if a vendor does not have a Remit-To address. In this case, the system cannot send them to the outsource provider since they would not know where to send the payment if the vendor chooses to receive a paper check.
The status of your vendors’ enrollment can be viewed in the Vendor Enrollment Inquiry window (Mekorma Area Page > Inquiry > Payables > Remote Payment Services Enrollment Status).
Change an individual payment’s settings to Locally
This is a one-time action that allows you to exclude a particular payment in a batch from being sent to the outsource provider. You access this from the Print Mekorma Payments window.
- Open the Print Payments window (Mekorma Area page > Transactions > Payables > Print Payments).
- Select a batch that contains a payment you want to switch to Local Processing.
- Click Additional > Payment Processing Options to open the Payment Processing Options window.
- Select the payment you want to print locally.
- In the Process Type column, use the drop-down to choose Locally and click OK to apply the change.
![]()

Notice that all the rest of the payments will be processed with their Default setting. So if the vendor is set up for Local processing, they will process locally and if the vendor is Enrolled in outsourcing they will be sent out.
Disable a checkbook that has been configured for outsourcing
- Open the Remote Payment Services Configuration window (Mekorma Area Page > Setup > Purchasing > Remote Payment Services Configuration).
- Right-click on the row for the checkbook you want to disable and choose Delete Row. Delete the Checkbook ID and associated data.
![]()
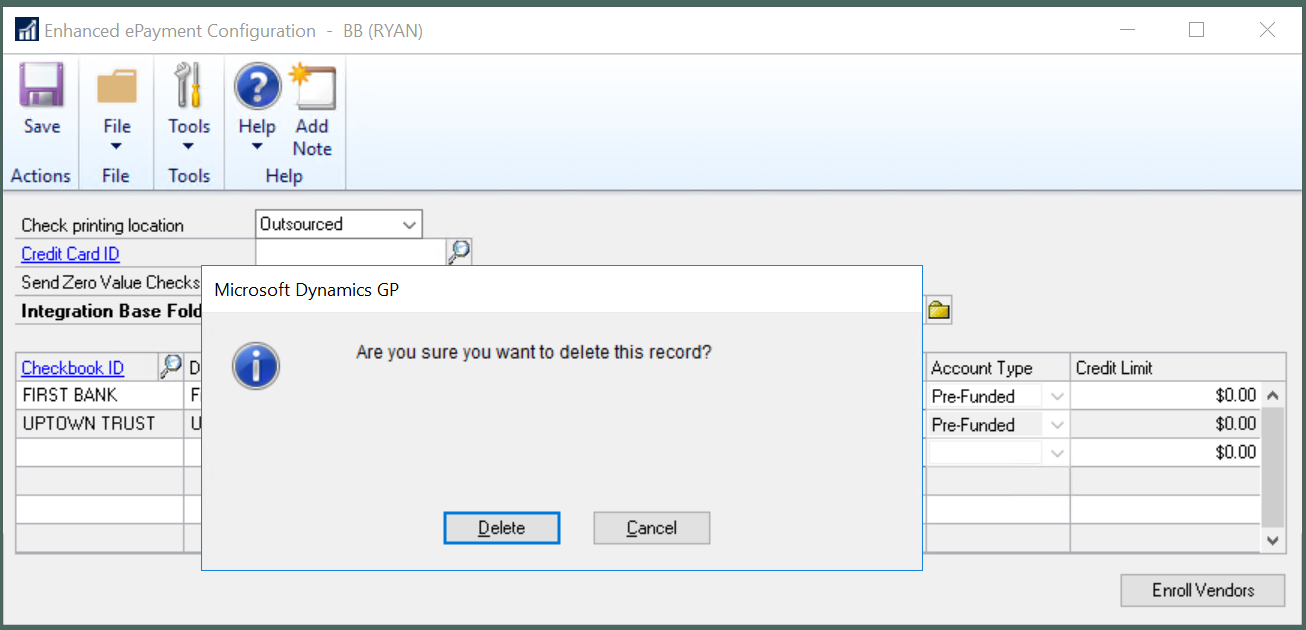
- Save the changes.
Any payments from the checkbook will be processed locally.
To add the checkbook back to the Remote Payment Services configuration, add the checkbook back.
Change an entire company’s printing location
This action disables the Remote Payment Services Connector for a particular company. No payment files from this company will be sent to the outsource provider.

- Open the Remote Payment Services Configuration window. (Mekorma Area Page > Setup > Purchasing > Remote Payment Services Configuration)
- In the Check printing location field, use the drop-down to choose Locally and Save.
Need more help with this?
We value your input. Let us know which features you want to see in our products.