
After the Enhanced ePayment Configuration Wizard has been run, additional checkbooks can be added for ePayment processing. This is a two-step process, as additional checkbooks must be added in the Enhanced ePayment portal, then within the ePayment Configuration window in Dynamics GP.
Step 1: Add the new checkbook in the ePayment Portal
- The ePayment administrator must first log in to the ePayment portal. Portal access was granted during the initial implementation of Enhanced Electronic Payments, and the administrator should have created login credentials.
- From the Home page, go to Master Data > Bank Accounts.
- Click + to create a new bank account:
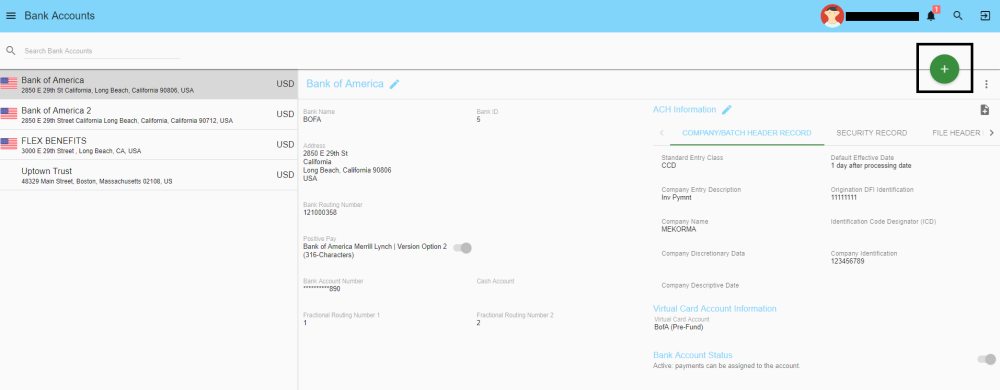
- Fill out all required fields. Mekorma recommends that the you make the Bank Name in the ePayment portal the same name as the Checkbook ID in Dynamics GP:

- Click Create to save the new account.
Step 2: Add the Checkbook in the Enhanced ePayment Configuration window
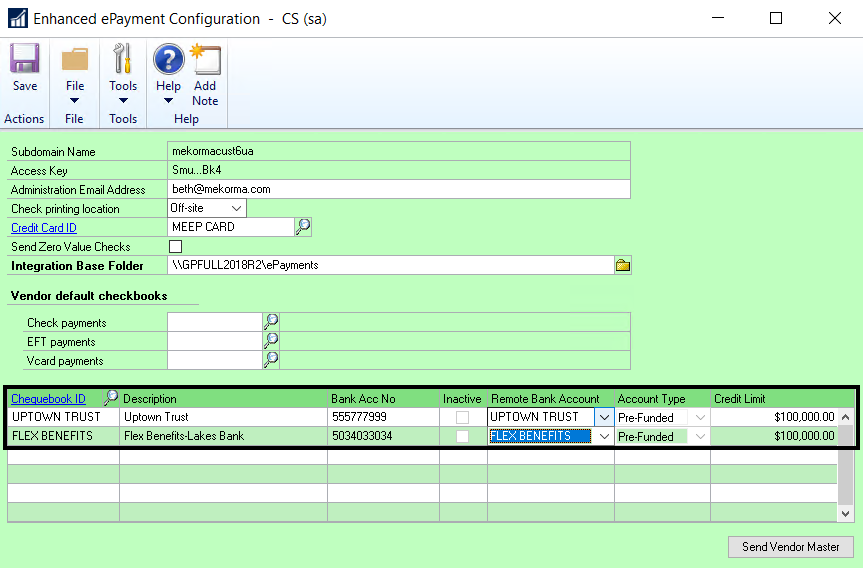
- Log in to Dynamics GP and open the Enhanced ePayment Configuration window.
- Click on the next available line in the checkbook fields at the bottom of the window. Use the look-up to choose the Checkbook ID of the checkbook you want to add. This will pull in the GP account description and bank account number.
- Match the GP checkbook with the correct account in the ePayment portal by using the drop-down menu under the Remote Bank Account column. From that point on, the checkbook can be used to pay vendors remotely via check or EFT.
Last modified:
January 18, 2024
Need more help with this?
We value your input. Let us know which features you want to see in our products.