
Printing test checks help you verify the correctness of your check layouts. Print the test checks from the same workstation and printer you will be using for live checks.
Differences in printers and operating systems can lead to size and placement variations on the printed page. The Test Check Layout is used for primary check regions, stubs, and overflow stubs. Use the MICR Gauge to confirm the placement of the MICR line.
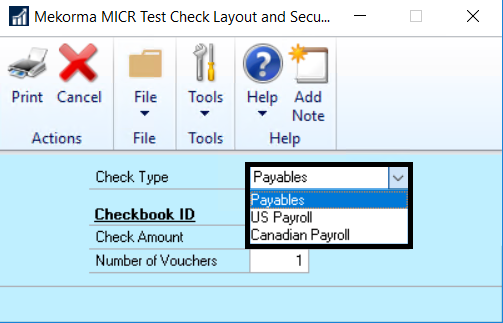
- Open the Test Check Layout and Security window (Mekorma Area Page > Setup > Purchasing > Test Layout and Security).
- Select a Check Type from the drop-down list (Payables, US Payroll or Canadian Payroll).
![]()
- Use the look-up on the Checkbook ID field to select a checkbook you have set up for Mekorma Payment Hub check printing.
- In the Check Amount field, enter the amount to print in the currency fields on the check or leave it as a default.
- In the Number of Vouchers field, enter the number of remittance lines to print on the stub. For example, if you want to see a stub that is paying five invoices, enter “5”. If you are using an overflow format, enter a number large enough to force the stub information to overflow to the next page.
![]()

- Click Print.
- On the Mekorma MICR Check Printing screen, confirm that the Check Printer is the printer you will be using for checks. If not, select the check printer from the drop-down list of printers.
![]()
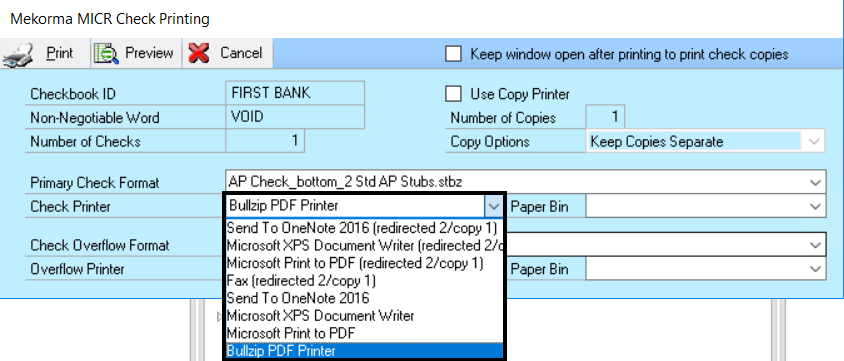
- Click Print to send the check to the printer and review the check layout.
Last modified:
January 4, 2022
Need more help with this?
We value your input. Let us know which features you want to see in our products.