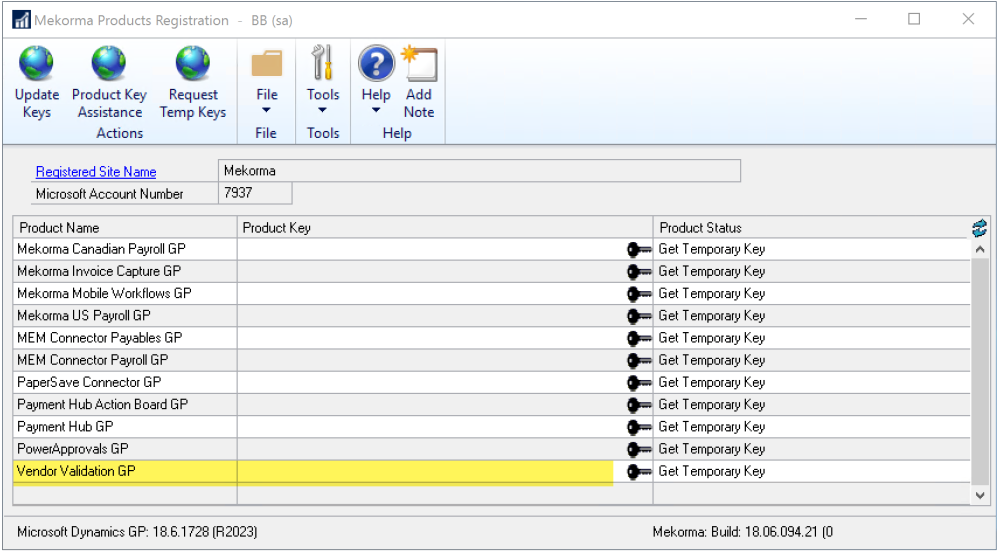
You must have a subscription to Payment Hub Core and be on Build x96 or higher to use Mekorma Vendor Validation. You can verify that Vendor Validation is registered in the Mekorma Products Registration window.
After Vendor Validation is registered, you must activate it before you can validate vendor data.
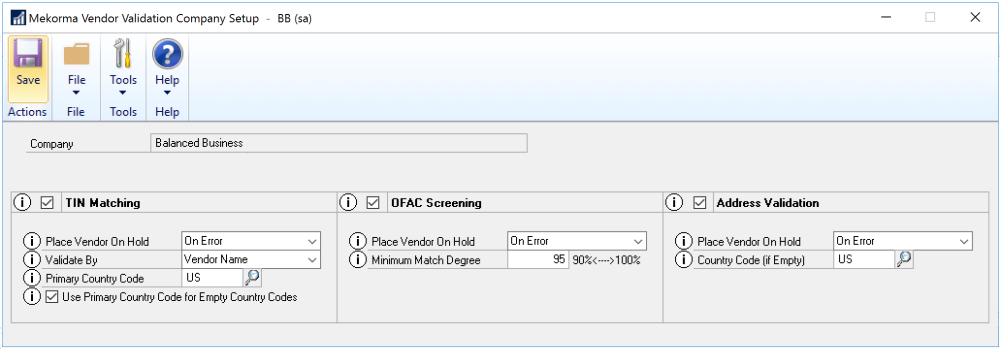
To activate and configure Vendor Validation, use the Mekorma Vendor Validation Company Setup window (Mekorma > Setup > Company > Vendor Validation Setup). Mark the checkbox next to each validation to use and select the appropriate options. Click the information icon next to each field for additional information about that field.
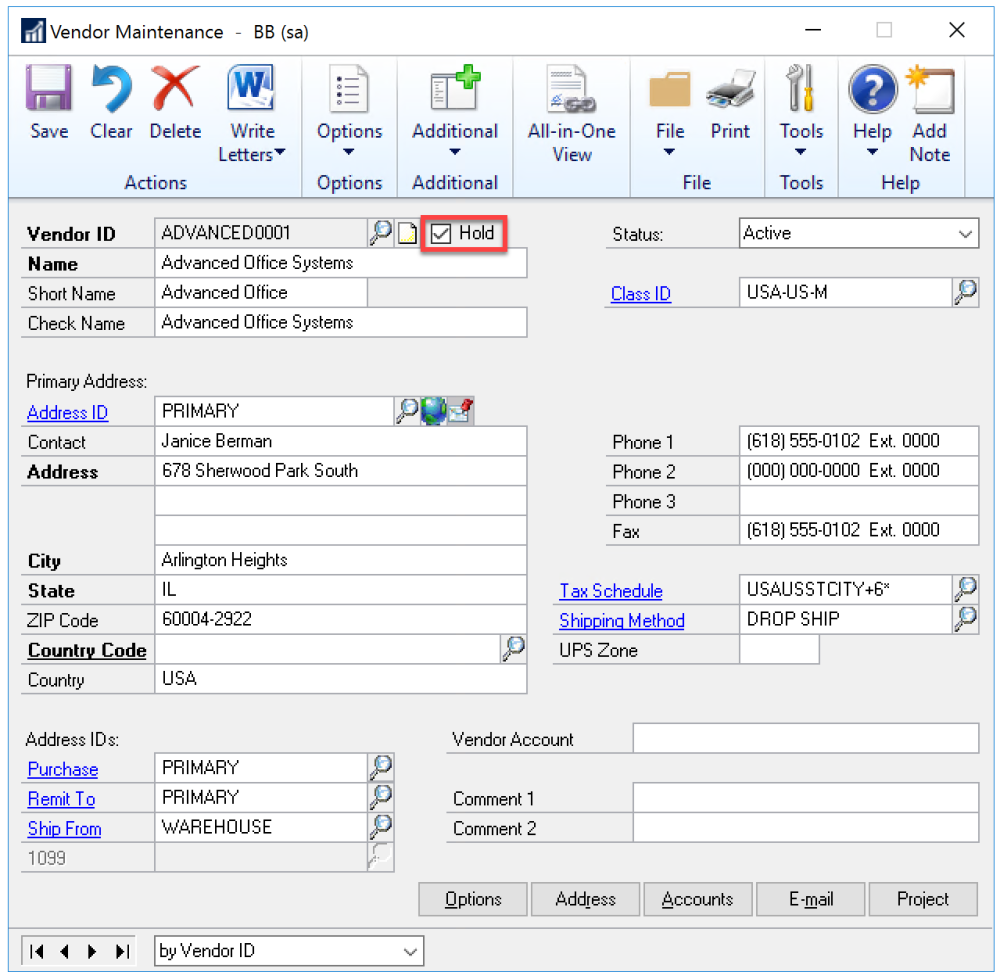
Validation settings are per company. For each validation option, the Hold checkbox in the Vendor Maintenance window will be marked when the vendor validation returns the status selected in the Place Vendor On Hold field in the Vendor Validation Company Setup window.
For example, if On Error is selected and the validation returns a Warning status, the vendor record will not be placed on hold. However, if On Warning is selected, the vendor record will be placed on hold if the validation returns either a Warning or an Error status. The only time we recommend using the Never option is when you first implement Mekorma Vendor Validation so that you can validate your vendors, see the result of the validation, and decide how to react. This is a good option for customers whose data is not in great shape.
Mekorma Vendor Validation offers three different types of validation: Taxpayer Identification Number (TIN), Office of Foreign Asset Control (OFAC), and Address Validation. Refer to Vendor Validation Services for information about each of these validations.
Need more help with this?
We value your input. Let us know which features you want to see in our products.


