
When processing virtual card payments using the credit model, you are extended a no-cost line of credit by the virtual card company. After batches are sent for processing, you will not be immediately charged for issued cards (as you are when using the pre-funded model).
Instead, the virtual card company will automatically transfer payments from your company’s account on a regularly scheduled basis, and you will only pay for the card amounts that have been “swiped” by vendors during that credit period. This has the advantage of allowing cash to float in your account for more time.
Watch the video below to see how credit-model virtual cards are managed:
Add New Payments
Adding new payments for the virtual card vendor is an action that must be repeated on a regular basis to reflect the automatic withdrawals the virtual card vendor makes from your account. Mekorma recommends adding a reminder to GP reminders, or set up a scheduled task so that an automatic email is sent to the appropriate user.
To open the Enhanced ePayment Vcard Management window, go to the Mekorma Area Page > Routines > Payables > Enhanced ePayment Vcards
- Open the Enhanced ePayment Vcard Management window.
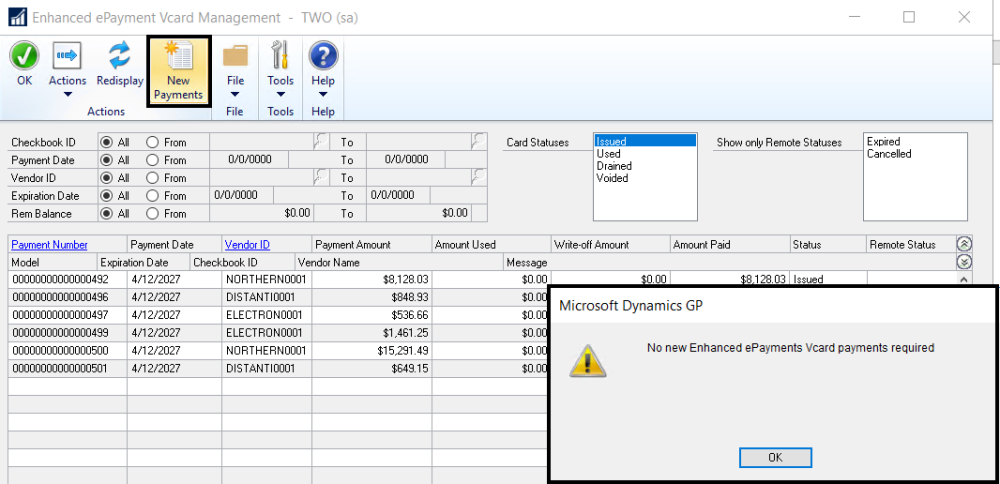
- Click on New Payments.
- If no virtual cards have been used within the current credit period, you will receive a message that no new payments are required.
- If there are new payments, the Enhanced ePayment Vcard Payment window will open. A payment transaction is created for the combined amount of all virtual cards that have been used for that period, paid from the checkbook designated in the Control Checkbook ID field.

- Assign the payment to an existing batch by using the look-up for the Batch Number field, or create a new batch, making sure it is associated with the same checkbook ID that appears in the Control Checkbook ID field of the Vcard payment window.
- Note that you have the option to check the box Prompt to Post on the Enhanced ePayment Vcard Payment window. If you check this box, you will be prompted to post the batch after processing. New Payment batches are never available for printing, as the virtual card vendor has already automatically withdrawn the funds.
- Click Process.
- Confirm that you want to create the new payment.
- Choose whether to post the batch now. If yes, the Post Payments window will open and you can click Process to post.
Need more help with this?
We value your input. Let us know which features you want to see in our products.