
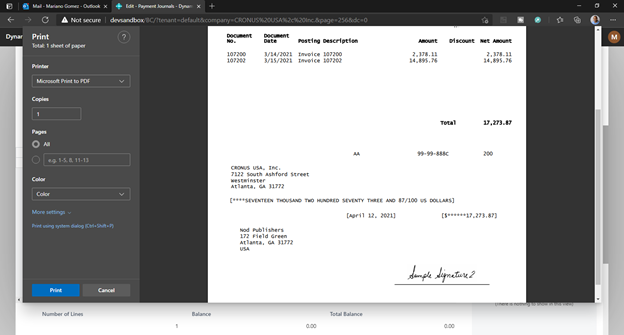
The steps below show you how to print a check with a signature attached.
- Click Check > Print Check.
- In the payment options, fill in the fields as necessary. You must at least select a bank account to print your checks.
- If your printer is set up to print checks, click Print. Otherwise, choose Send to…, select PDF Document, choose OK, and then print the PDF document.
![]()
- The physical checks can be sent to the vendors for processing.
Last modified:
May 13, 2026
Need more help with this?
We value your input. Let us know which features you want to see in our products.